Making and Installing Acrylic Letter Signs – Guide
This tutorial will guide you through how to install laser cut acrylic letter signs. Such plexiglass letters are perfect to make luxury brand impression for retail boutiques around NYC and other malls.
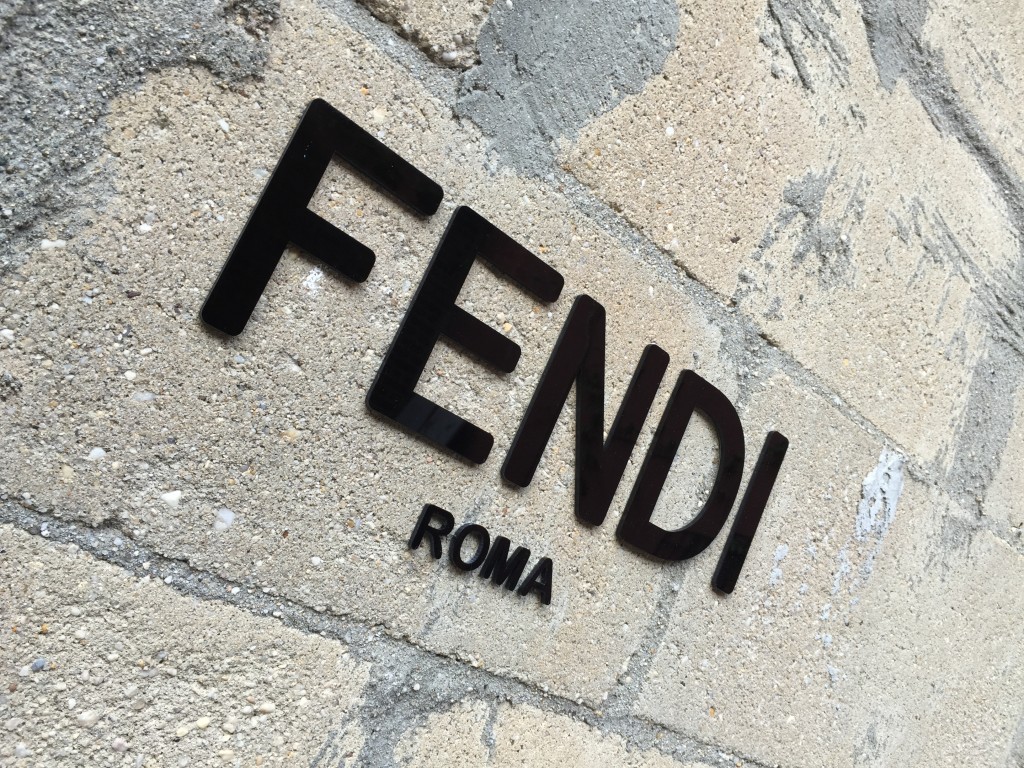
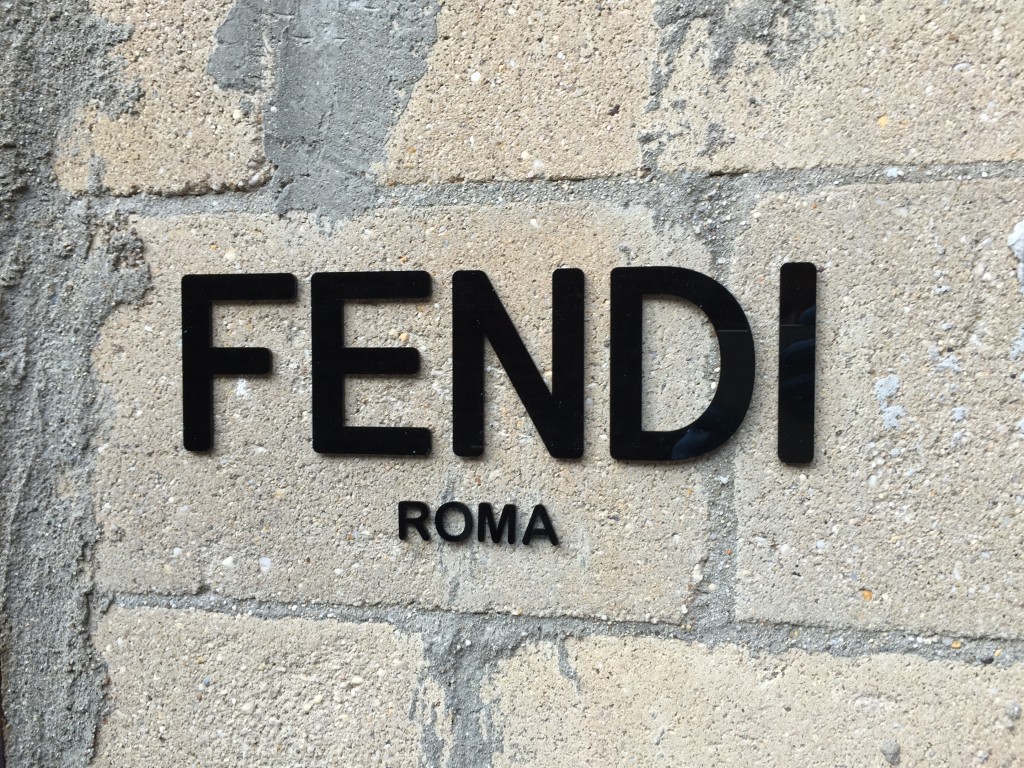
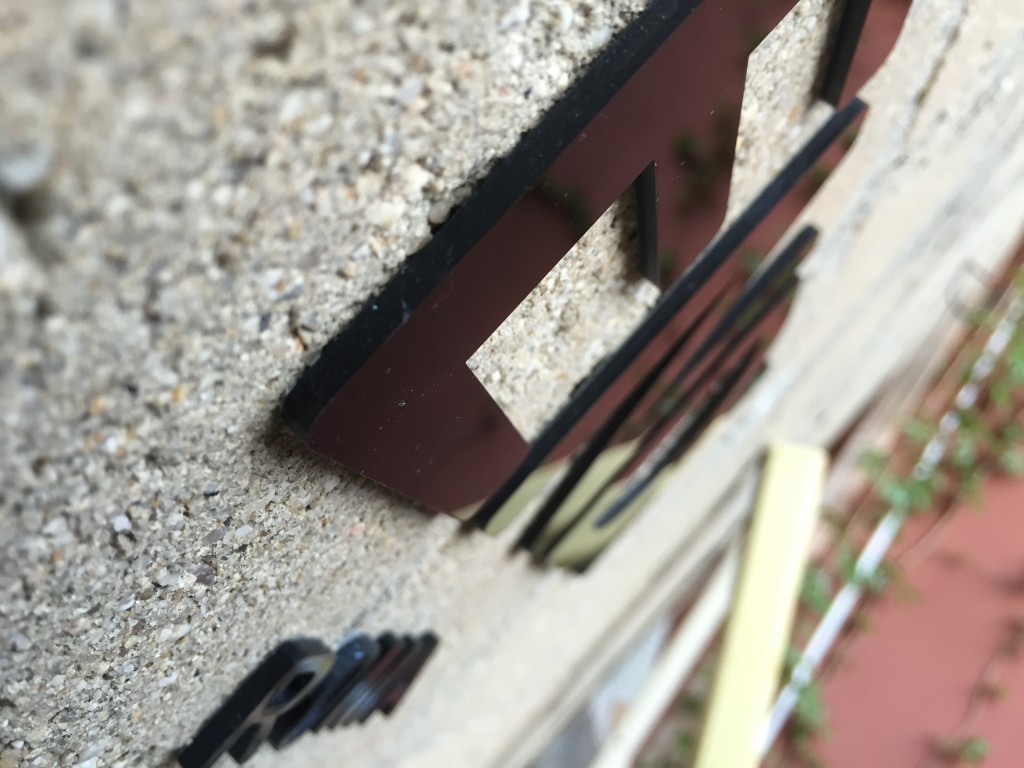
Lets take a look how our installation looks on the wall. Laser-CutZ are processing acrylic letters at slower laser cutting speeds to add perfectly smooth finish on the edge of the letters.
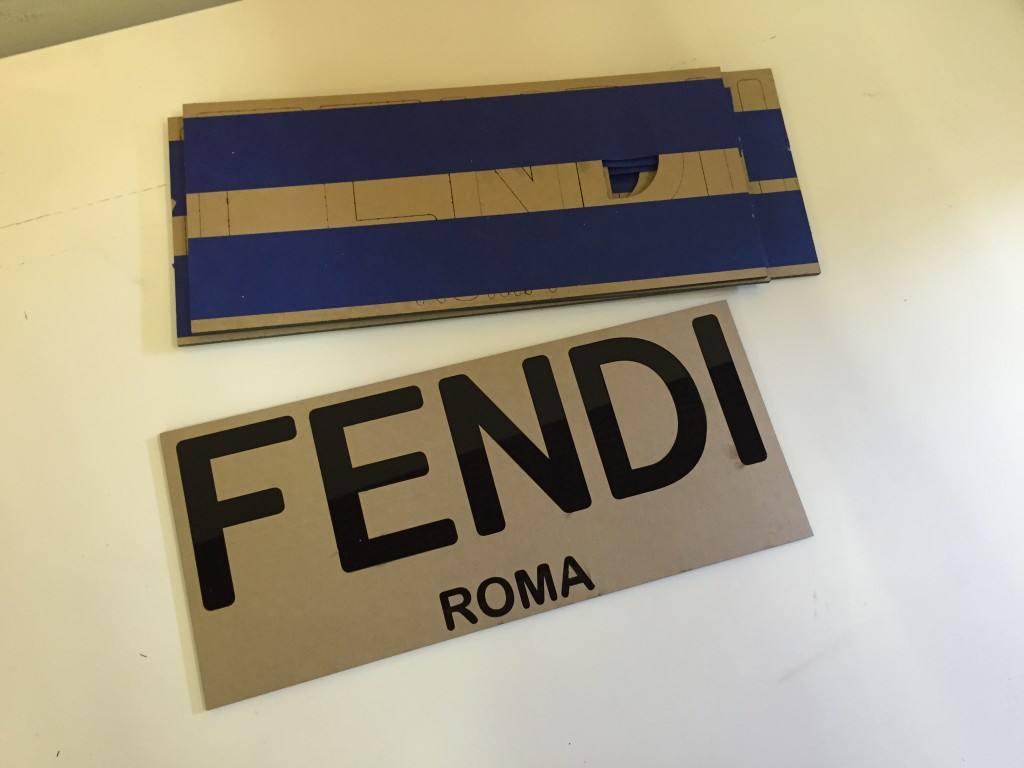
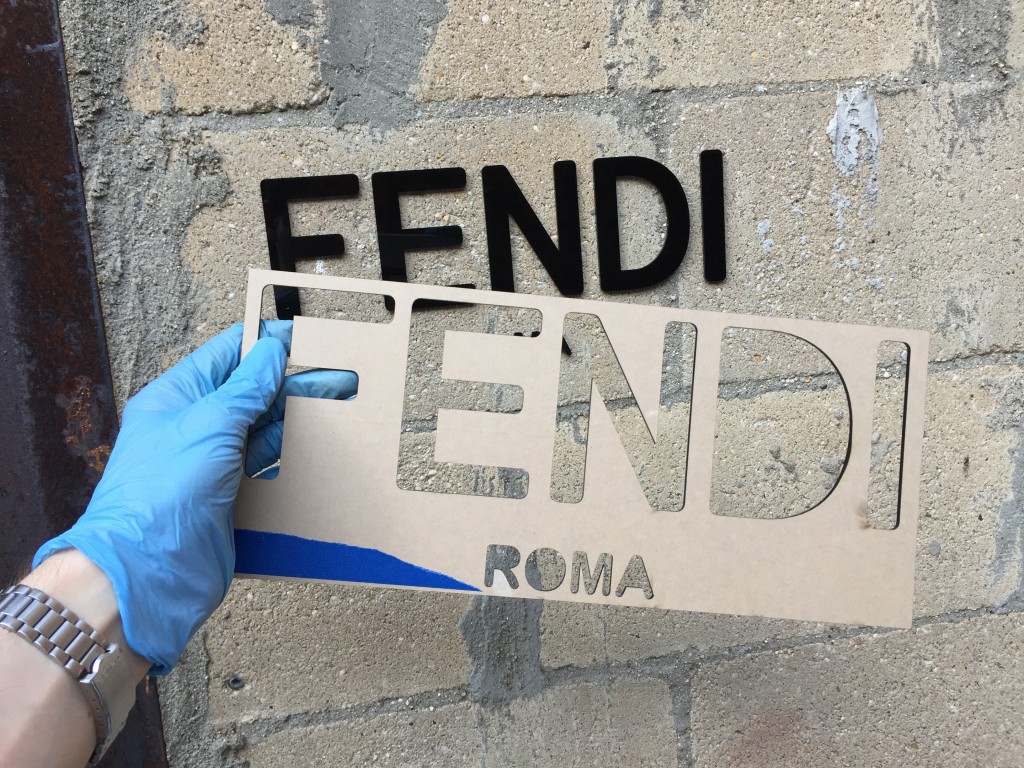
Let begin our installation. It should not take you more then 10 minutes to do perfect installation. To help you, Laser-CutZ includes placement module board. Placement module is the same as transfer tape used for vinyl label signs. It helps you to place letters in proper order and reassemble original artwork. Photo below shows packaged signs letters and placement modules ready to be shipped to the client and also sample module that we will be using for our tutorial.
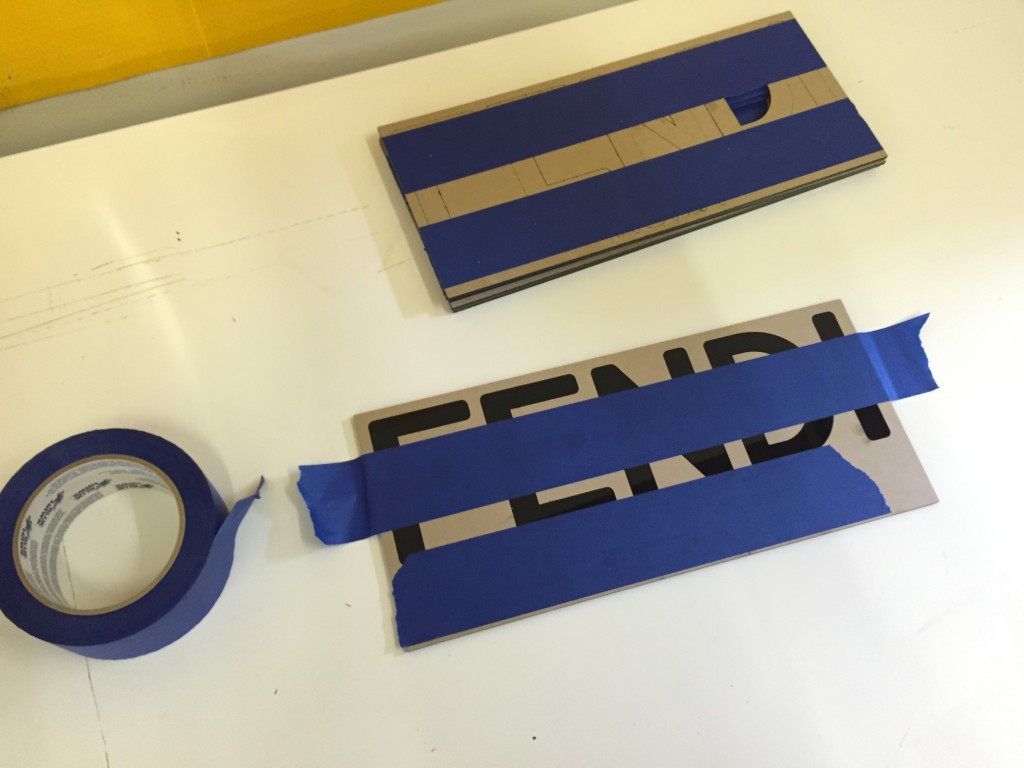
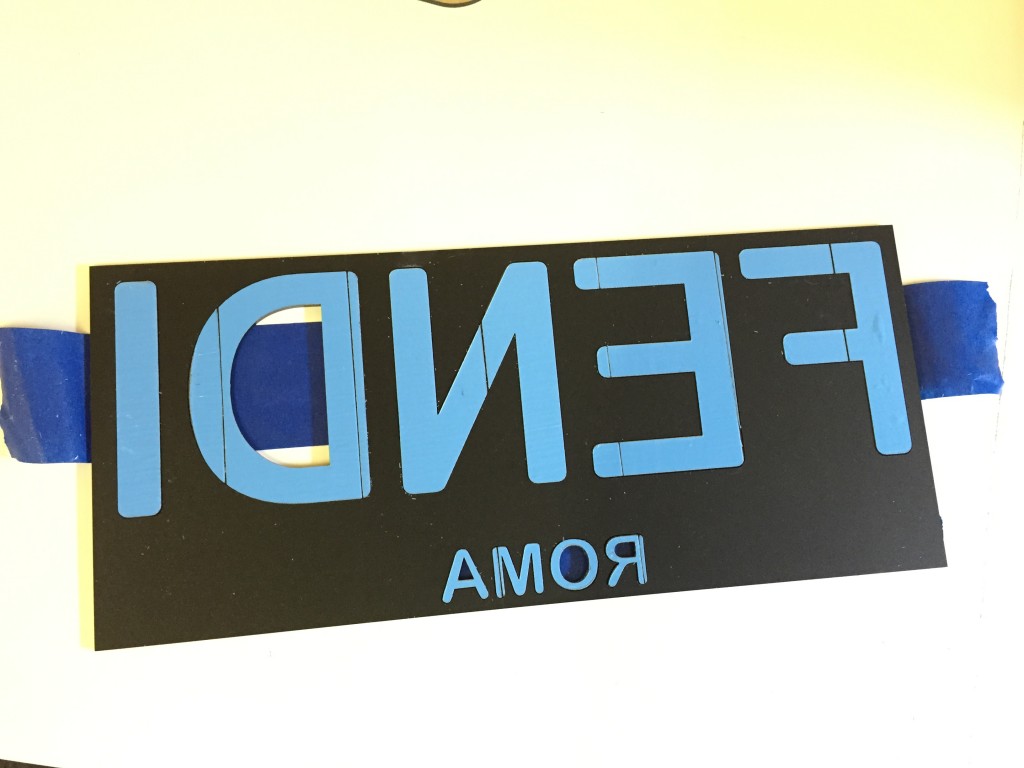
First step on installation would be to put masking tape to overlap the placement module and the letters. This will hold letter in place and will also allow you to attach module to the location for a visual preview.
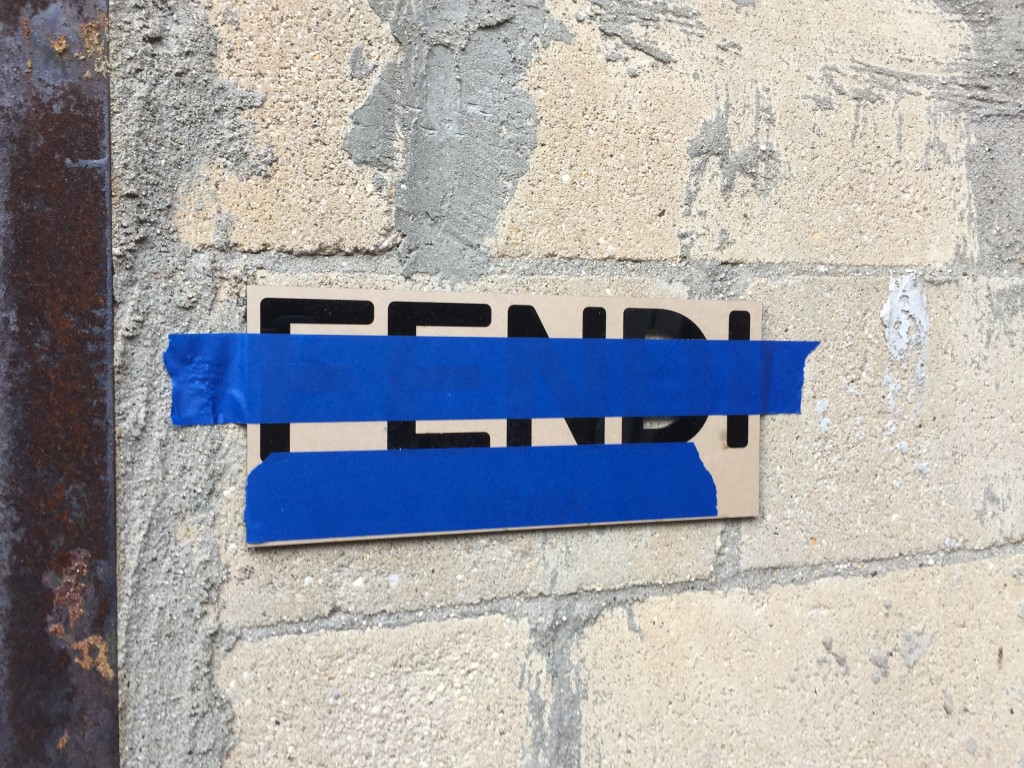
Next put you laser cut name sign on the wall or other location and see how it looks and if it is the way you want it.
If you are happy with the placement of the sign then go back, flip laser cut acrylic letter module and remove all adhesive tape around letters. Keep only letters that needs to bee transferred. As you can see on the photo blue letters are the one that have adhesive backing, blue is protective layer while black is a color of the plexiglass and we have removed adhesive backing from that part.
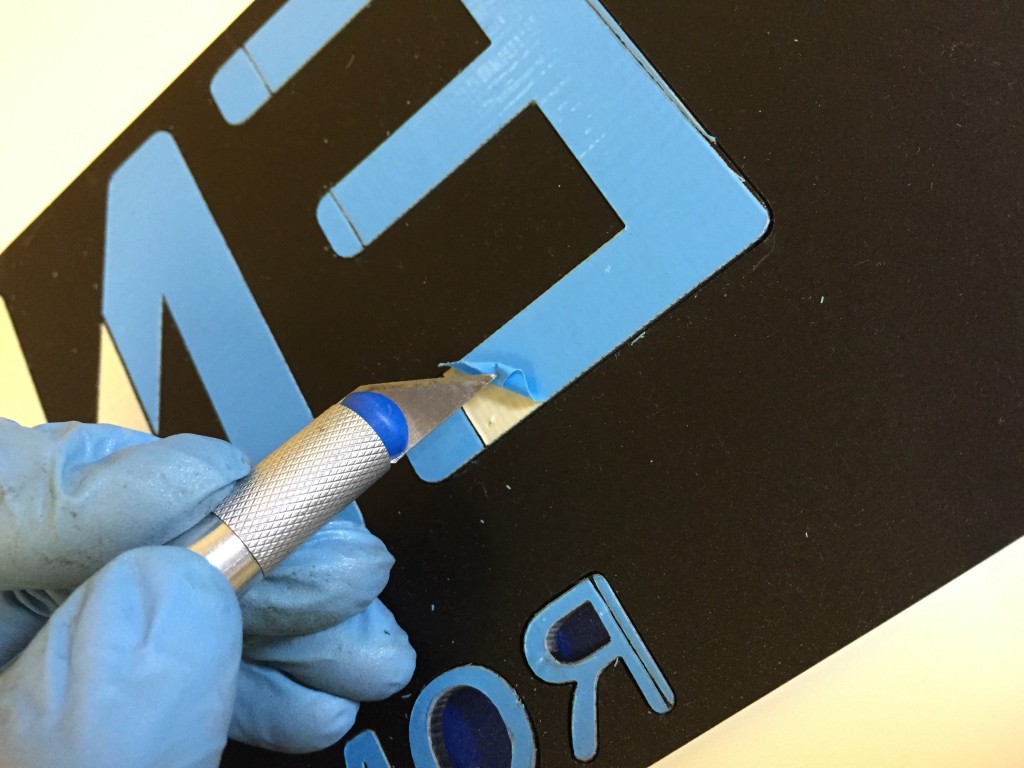
Now we are good to go to the next step which will be pretty easy, all we need to do is to remove blue protective layer from the laser cut letters. (keep letters in their spots) This can be easily done by using blade and punching small hole in the protective layer and removing it. Try to avoid lifting protector for the side as you can also pick up adhesive backing and that is not what you want to do.
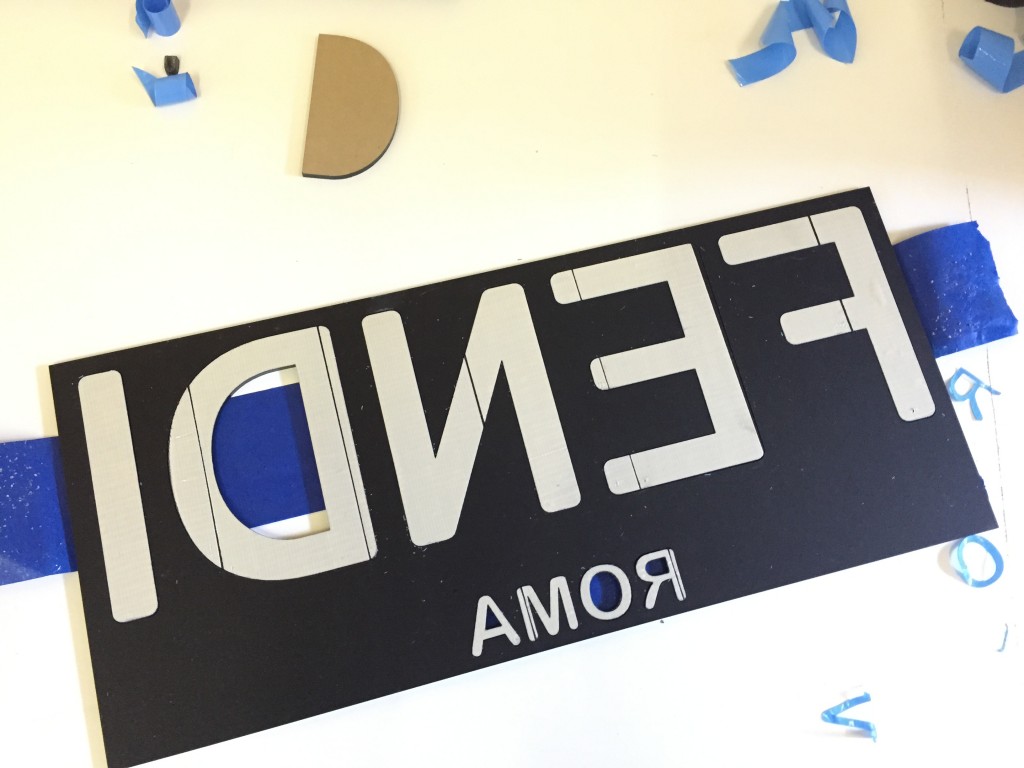
Once adhesive protector is remove you will see beige glue layer. We are now ready to go back to installation location and install our letters.
When you are at installation location, example glass wall or and other surface, flip letter placement module so adhesive backing is facing your surface. Press the module to the surface then press each laser cut letters individually, you need to apply enough pressure got the letter to bond to the surface. One you feel that letter are attached to the surface, let the module hang in the air, if it does not fall down then you are on the right track. You can start removing masking tape that holds letters and the module. Keep module in place and give it some support when you are removing masking tape. Remove tape at the angle but pooling it down, in that way it will not lift letters out of their spots.
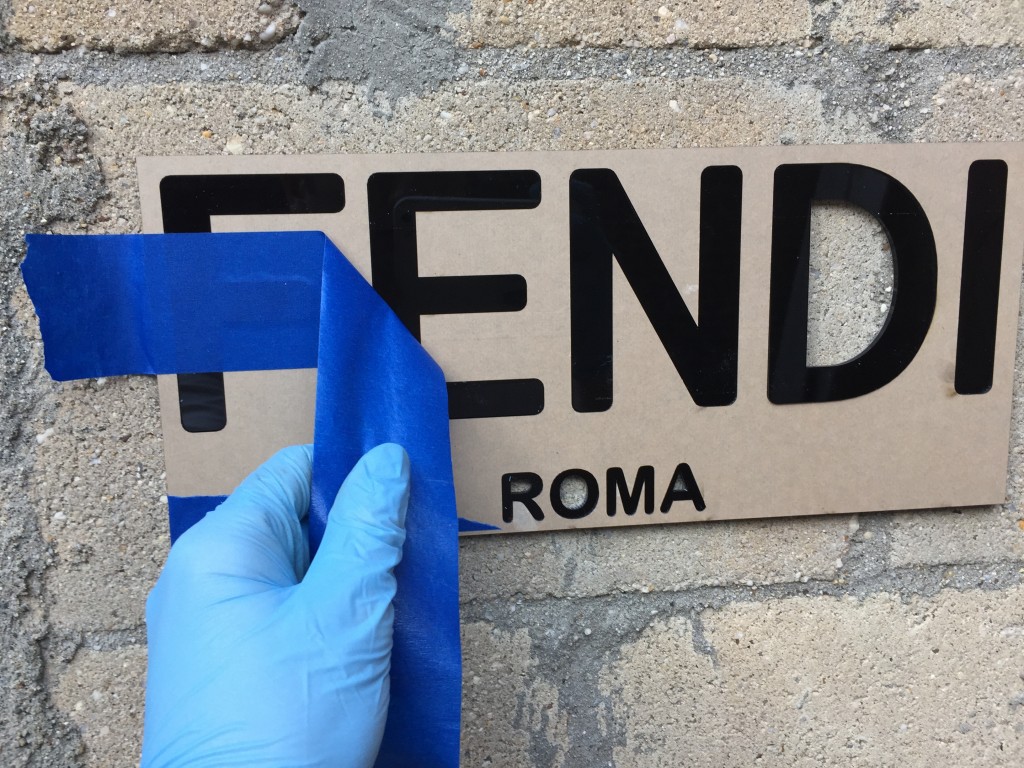
When letters are released from masking tape you will have placement module fully hanging on the laser cut letters and their adhesive backing. Press each letter with your finger to ensure better bonding. Now carefully and evenly, start removing placement module by pulling it towards you. Make sure you pull it evenly on all side and that here is no angles any where. If you lift any sides too fast you will create angle and it will take the letters off the wall.
Installation is complete, you laser cut upscale store sign is ready to attract new customers. When installing or preparing artwork, keep few things in mind
- Different localities have different laws, in NYC and its boroughs you need to be licensed to install (mount) signs. Also any sign that is more then 1 square feet needs a permit to be issued by New York City government. Having sign installed without permit may cause rather unreasonable fines and preventing your store form operations. Such law is not much endorsed but time to time inspectors get picky so do study your local laws and check what are consequences if you decided to save some money.
- Small objects do not have enough surface areas to bond well and they tend to be fragile and can be easily broken off. Place them off reach of customers or use glue and not adhesive backings.
- There are 2 types of adhesive backings:
- Industrial Double Side – outdoor and indoor, very heavy bonding but it is 1/16″ thickness so it may be visible.
- Regular Double Side Tape – good for indoor use, low bonding good for large items in terms if area and needs clean surface to attach too.
- Glass Surfaces – keep in mind that adhesive backing will be visible for other side of the glass so be sure your design address it or you gave ways to cover your adhesive backing on other side.
- Material Thickens – laser-cutz.com has very powerful 150W CO laser cutting machine but even big power does not change physics, so thicker materials the less good quality of edging is. We recommend to keep letter thickens under 1/2″. Some bigger materials like 3/4″ acrylic would work too but better to avoid it. Machine can cut up to 1″ plexiglass but such thickens of materiel should only be used if wived form longer distances. Our material of choice is any color plexiglass 1/8-1/4″


